Picture It™
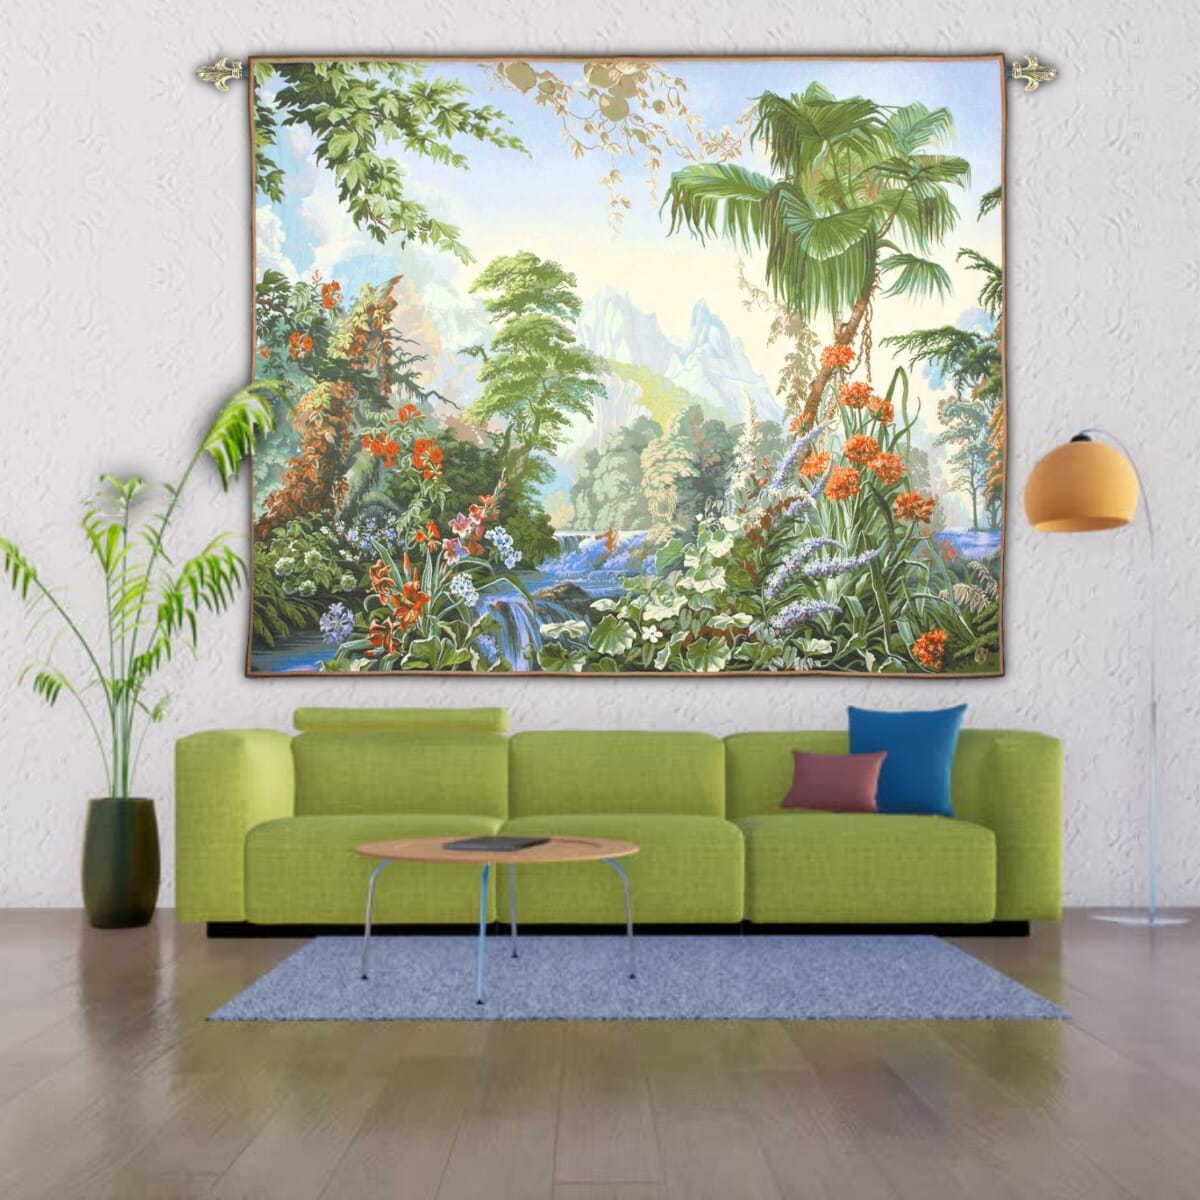
We know and understand that it can be difficult to imagine just how amazing a tapestry could look on your wall. However, we are able to help! Simply follow the steps below and fill out the form underneath and we will reply as quickly as possible. Some examples of simulations that we have done for clients in the past can be seen next to this text. To be able to take advantage of this service you will need a camera or smartphone and a tape measure. This service is free of charge to users of our website that are looking to purchase a tapestry from Hines of Oxford.
The Process
How it works
1. Where will you hang your tapestry?
The first step in choosing the perfect tapestry for your home is to decide on the spot where it will be hung. This is key to enabling you to select the correct size tapestry for the space. Measure the area selected and decide how much of the space you would like the tapestry to cover. Generally we recommend going larger than you would with a picture for example. Tapestries have been hung for centuries to fill, if not completely at least the majority, of the wall and this is still recommended for the maximum impact.
2. Choose your tapestry
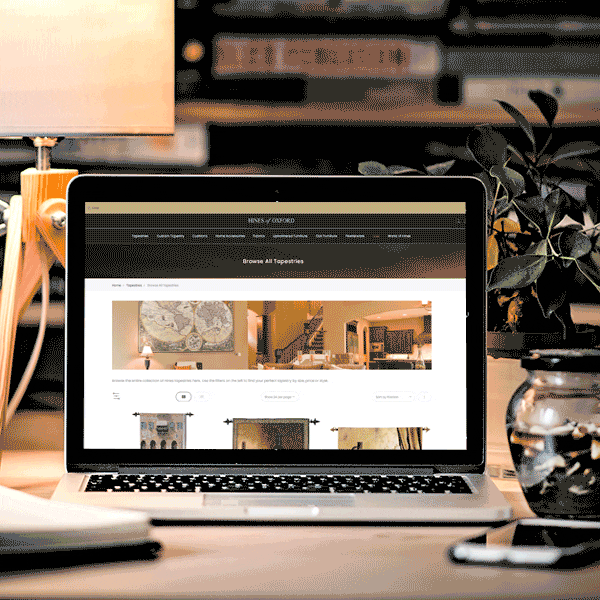
We know it can be confusing and time-consuming to decide what tapestry is right for you. There are a number of ways that can be followed in order to get the perfect peice for you but we would recommend starting with size. Now you have the dimensions of the area you want the tapestry to fill you can view all tapestries and move the size selectors on the left hand side to a suitable window to filter the tapestries down to the sizes that are perfect for you. If you then have a budget or style in mind for your tapestry you can filter further to narrow down the options available.
3. Photograph your wall
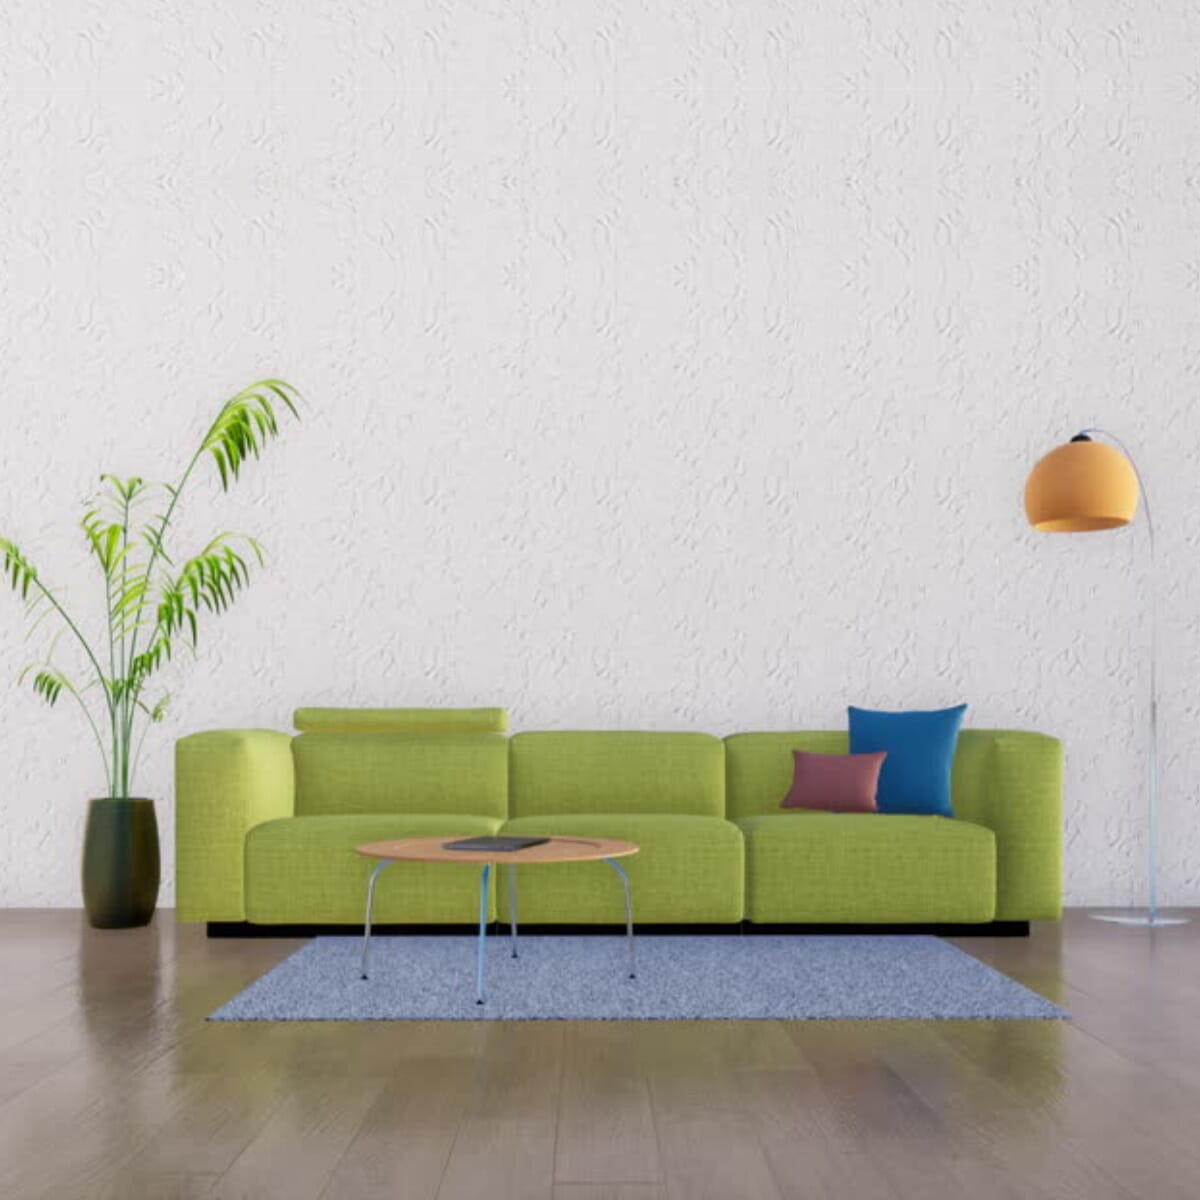
Once you have selected a tapestry (or tapestries) you need to take a photograph of the wall on which you wish to hang your tapestry. This photo needs to include some of the room ideally, a sofa or doorway, to help you visulise how it will look once hung. It is important that the photograph is taken 'square on' to the room so that the wall isn't wonky. Click here to see examples of how your photo should be taken.

4. Measure your wall
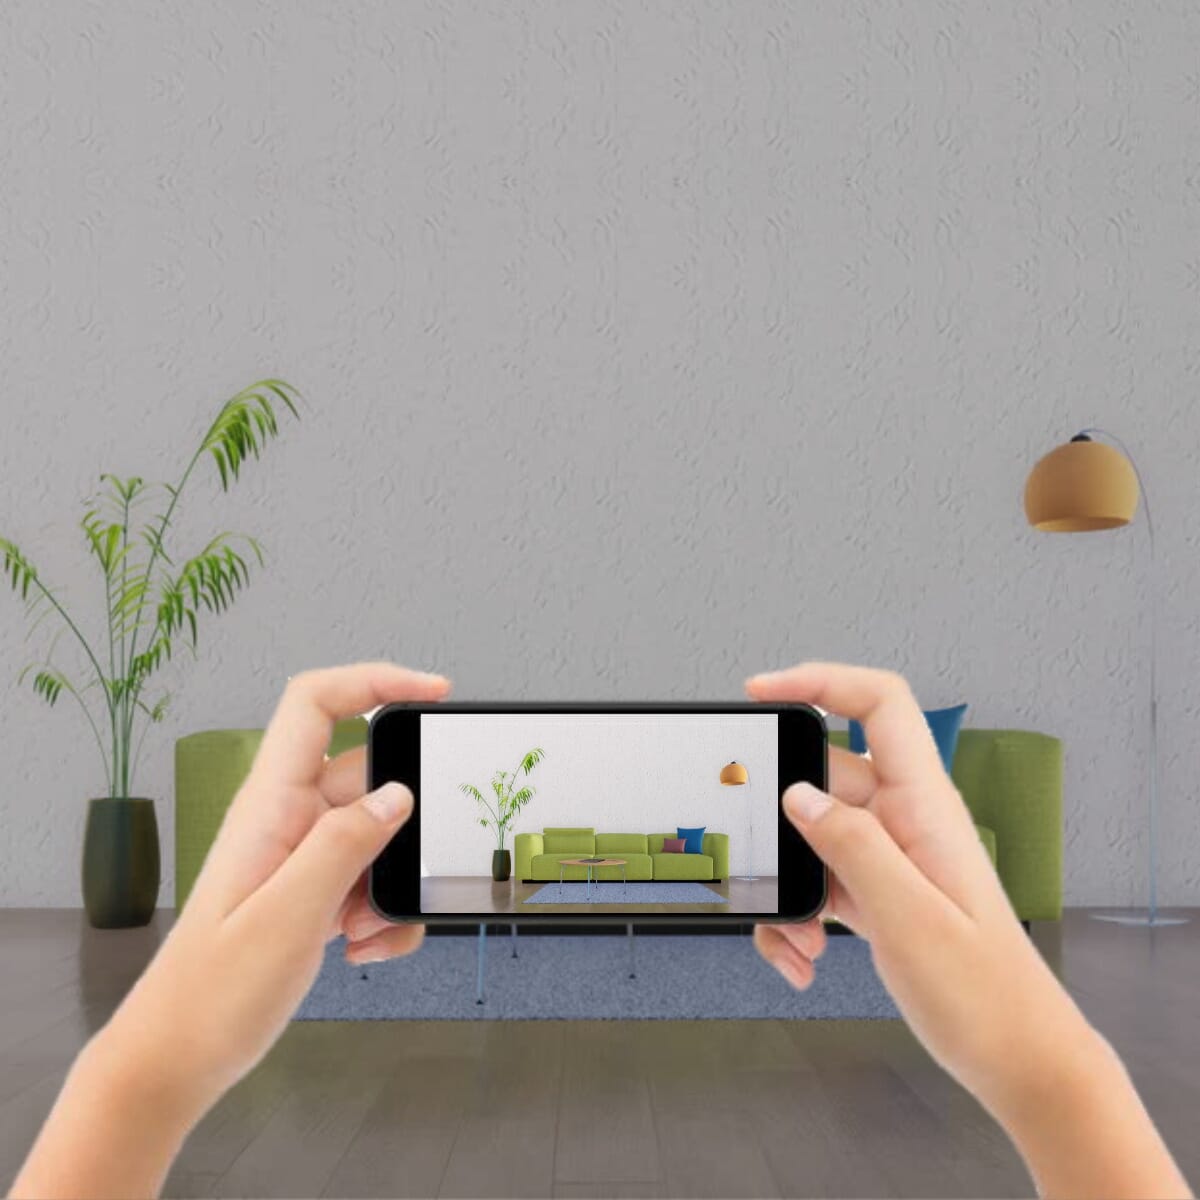
In order to enable our team to scale the tapestry to your room as accurately as possible we will require a dimension (or 2) of a promenant area of the photograph you have just taken. Typically this would be from corner to corner of a room but could be from the floor to ceiling or another fixed point such as a dado rail or existing pictures on the wall for example. Click here to see examples of how to measure your wall.
5. Submit your information
After you have completed steps 1-4 now you are ready to send us your photograph and tapestry selection. Please fill out the form below. If you woudl like to see more than 1 tapestry shown on your image then please fill out the form for as many peices you wish to see.
6. Superimposing
Once we have received your photograph including dimensions and tapestry information we will get to work to edit your photo. We will scale off the elements in the photograph that we have dimensions for to get an accurate as possible rendering of how the tapestry could look in your room. Once we have done this work we will simply email you the image to see if it works for you!
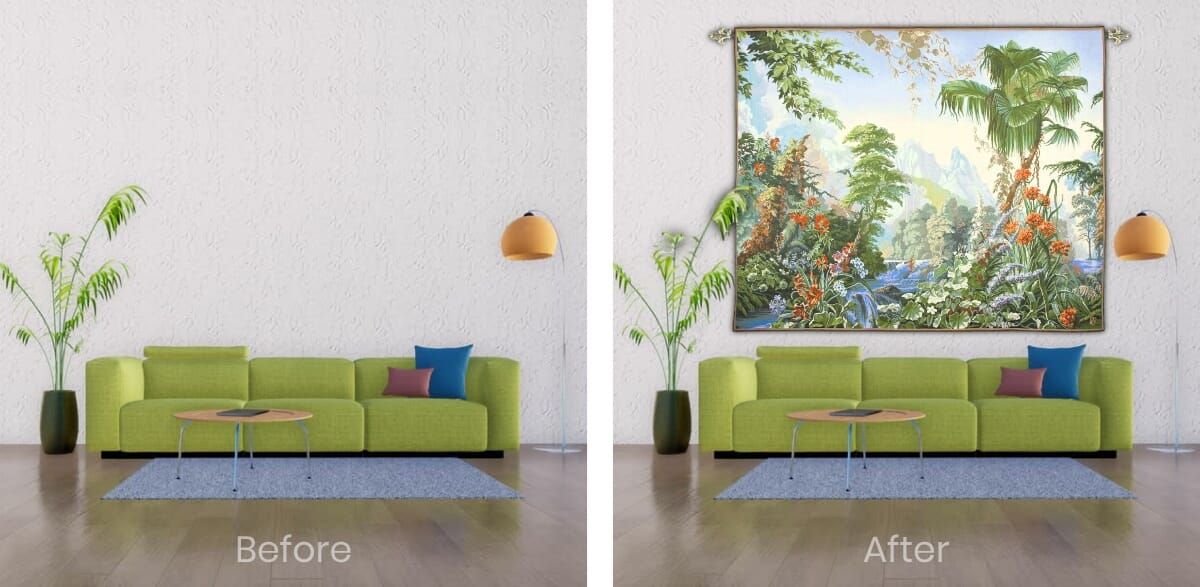
Before & After
You can see here the difference between the original client photograph and the simulation.
It shows the effect of the tapestry and the amount of space it will take up on the wall enabling the client to decide if they like the overall effect without having to purchase and then return the tapestry.
Ready to request your own simulation?
Simply fill out the form below to get the process started and we will contact you by email soon.
